
I see many people at stackoverflow who ask for an editor who does syntax highlighting in their JavaFX applications. As e(fx)clipse runtime has such a control available and the Eclipse Text Framework has all the tokenizing and reconcoling infrastructure I thought it might be a good idea to write up how you can get an application like this which is plain old Java application (NO OSGi required!)

To get this going you need to:
- Download Java8u40 (at the time of this writing you need to use an EA build)
- Download e(fx)clipse all-in-one downloads
- Clone the following git-repositories:
- You import from:
- eclipse.platform.text.git
- org.eclipse.text
- org.eclipse.efxclipse.git
- demos/CodeEditor
- bundles/runtime/org.eclipse.fx.core
- bundles/runtime/org.eclipse.fx.ui.controls
- bundles/runtime/org.eclipse.fx.ui.services
- experimental/compensator/org.eclipse.fx.text
- experimental/compensator/org.eclipse.fx.text.ui
- eclipse.platform.text.git
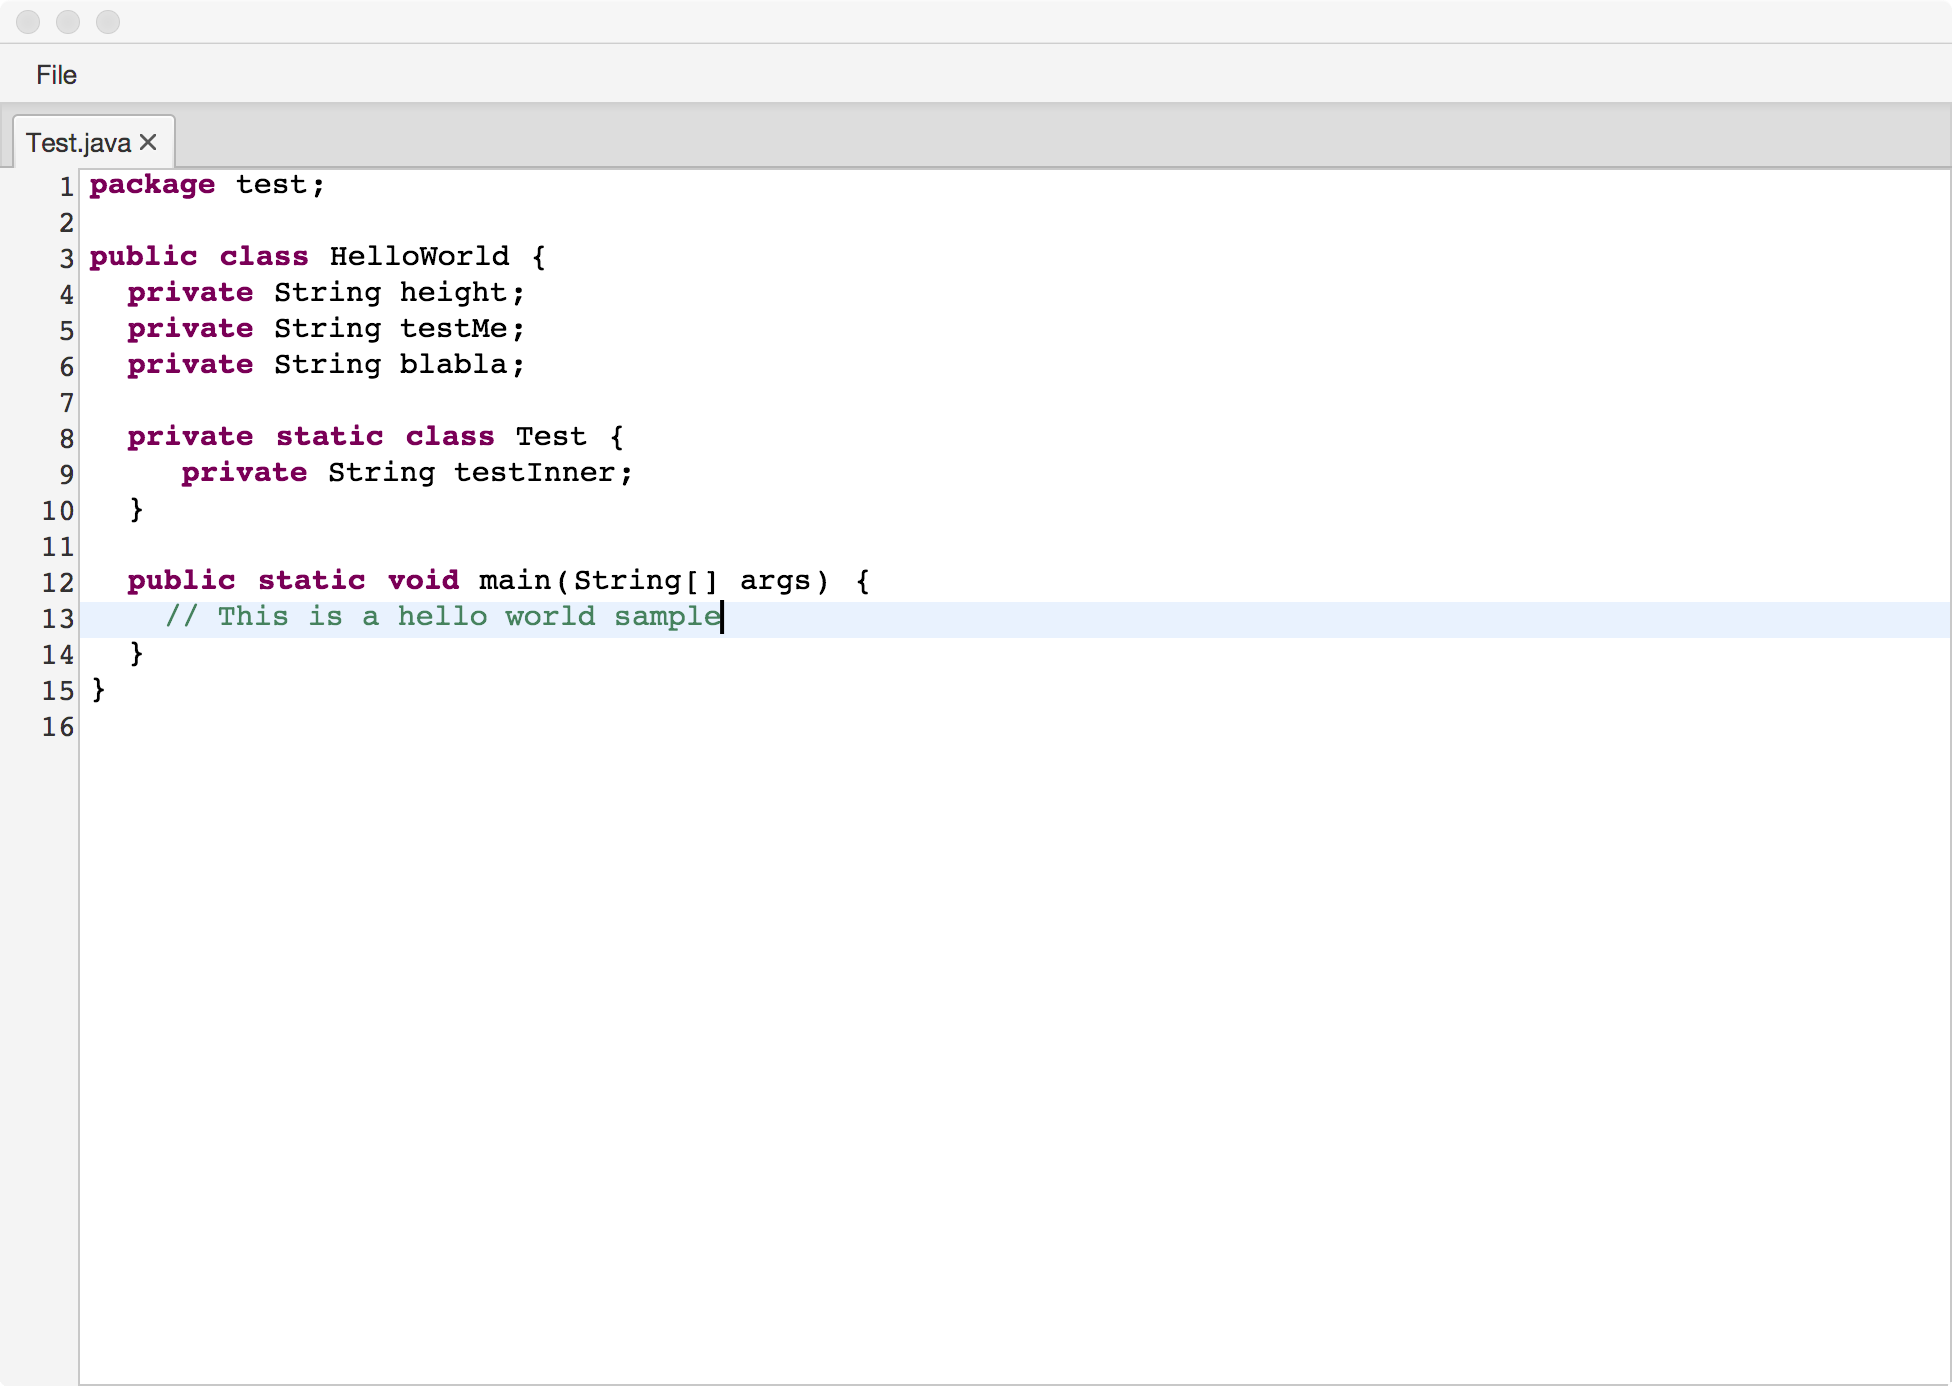
You can now start studying the code in the CodeEditor project. Most of the hard work is done by the libraries for you so in general doing syntax highlighting with the help of e(fx)clipse runtime components involve the following (custom) code:
- Implementation of
IPresentationDamagerandIPresentationRepairer - Implementation of an
ITokenScanner - Implementation of an
IDocumentPartitioner - A CSS-File to style the tokens
This sounds hard than it really is because 95% of the code already available e.g. in Eclipse JDT can be reused (notice the copyright header in all the text-package classes!), I won’t go into the details about the Eclipse Text framework in this post as I’m not an expert myself on it.
The only thing I’d like you to show is how you connect all the text parsing with the JavaFX control coming from e(fx)clipse.
public SourceViewer createViewer(Path p) {
  SourceViewer viewer = new SourceViewer();
  SourceViewerConfiguration configuration = createConfig();
  Document document = createDocument(p);
  IDocumentPartitioner partitioner = createPartitioner();

  document.setDocumentPartitioner(configuration.getConfiguredDocumentPartitioning(viewer), partitioner);

  document.setDocumentPartitioner(partitioner);
  partitioner.connect(document);

  viewer.configure(configuration);
  viewer.setDocument(document);
  return viewer;
}

private SourceViewerConfiguration createConfig() {
  return new JavaSourceConfiguration();
}

private IDocumentPartitioner createPartitioner() {
  return new FastPartitioner(new FastJavaPartitionScanner(), new String[] {
    IJavaPartitions.JAVA_DOC,
    IJavaPartitions.JAVA_MULTI_LINE_COMMENT,
    IJavaPartitions.JAVA_SINGLE_LINE_COMMENT,
    IJavaPartitions.JAVA_STRING, IJavaPartitions.JAVA_CHARACTER });
}

private Document createDocument(Path p) {
  return new Document(getFile(p));
}

private String getFile(Path p) {
  try (BufferedReader reader = Files.newBufferedReader(p)) {
    StringBuilder b = new StringBuilder();
    String line;
    while ((line = reader.readLine()) != null) {
      b.append(line + "\n");
    }
    reader.close();
    return b.toString();
  } catch (IOException e) {
    // TODO Auto-generated catch block
    e.printStackTrace();
  }
  return "";
}
if you’ve ever written an styled-text editor for Eclipse the above code should look fairly familiar to you.
and to do the highlighting you need to attach a CSS-Stylesheet like this:
.java.styled-text-area .selection-marker {
	-fx-background-color: #2b5696;
}

.java.styled-text-area .java_string {
	-styled-text-color: #7c986c;
}

.java.styled-text-area .java_default {
	-styled-text-color: #b8c4d1;
}

.java.styled-text-area .java_annotation {
	-styled-text-color: rgb(200, 200, 200);
}

.java.styled-text-area .java_keyword {
	-styled-text-color: #d78b40;
	-fx-font-weight: bold;
}

.java.styled-text-area .java_operator {
	-styled-text-color: #b8c4d1;
}

.java.styled-text-area .java_bracket {
	-styled-text-color: #b8c4d1;
}

.java.styled-text-area .java_keyword_return {
	-styled-text-color: #d78b40;
	-fx-font-weight: bold;
}

.java.styled-text-area .java_comment_task_tag {
	-styled-text-color: rgb(127, 159, 191);
}

.java.styled-text-area .java_doc_link {
	-styled-text-color: #74a567;
	-fx-font-weight: bold;
}

.java.styled-text-area .java_doc_default {
	-styled-text-color: #74a567;
}

.java.styled-text-area .java_multi_line_comment {
	-styled-text-color: #929292;
}

.java.styled-text-area .java_single_line_comment {
	-styled-text-color: #929292;
}

.java.styled-text-area .java_doc_tag {
	-fx-fill: #74a567;
	-fx-font-weight: bold;
}

I thank you very much for writing this tutorial, to implement the tutorial should we start with a simple JavaFX Application or an E4 JavaFX application, I am confused, I never writing editor for eclipse it’s my first steps
Please use the forum for questions
i am sorry,I just created a new topic on the forum relating to this tutorial
Hi, please can you share one this project, in one link, I try on to follow your tutorial but I can’t.
https://github.com/BestSolution-at/efxclipse-codeeditor-samples
And since this blog post a lot of time has passed so you better follow: https://tomsondev.bestsolution.at/2015/07/24/developing-a-source-code-editor-in-javafx-without-e4-and-osgi/ or https://tomsondev.bestsolution.at/2015/07/27/developing-a-source-code-editor-in-javafx-on-the-eclipse-4-application-platform/
Pingback: JavaFX links of the week, February 16 // JavaFX News, Demos and Insight // FX Experience
it isnt javafx 😦 its maven ! can you please do it in javafx and share with me source code?