From a tweet von Gunnar Morling
I learned today that my work on JFR-Doc is used for JfrUnit. In a follow up Gunnar asked me how those JSON-Files are generated and I promised to write up a blog what I hacked together in an evening to get this going.
Get the input
The first and most important thing is to get all JFR-Events (those commands are executed eg in your Java-17-Install-Dir)
./java -XX:StartFlightRecording:filename=/tmp/out-bin.jfr \
-version # Dump JFR Data
./jfr metadata /tmp/out-bin.jfr > /tmp/openjdk-17.jfr
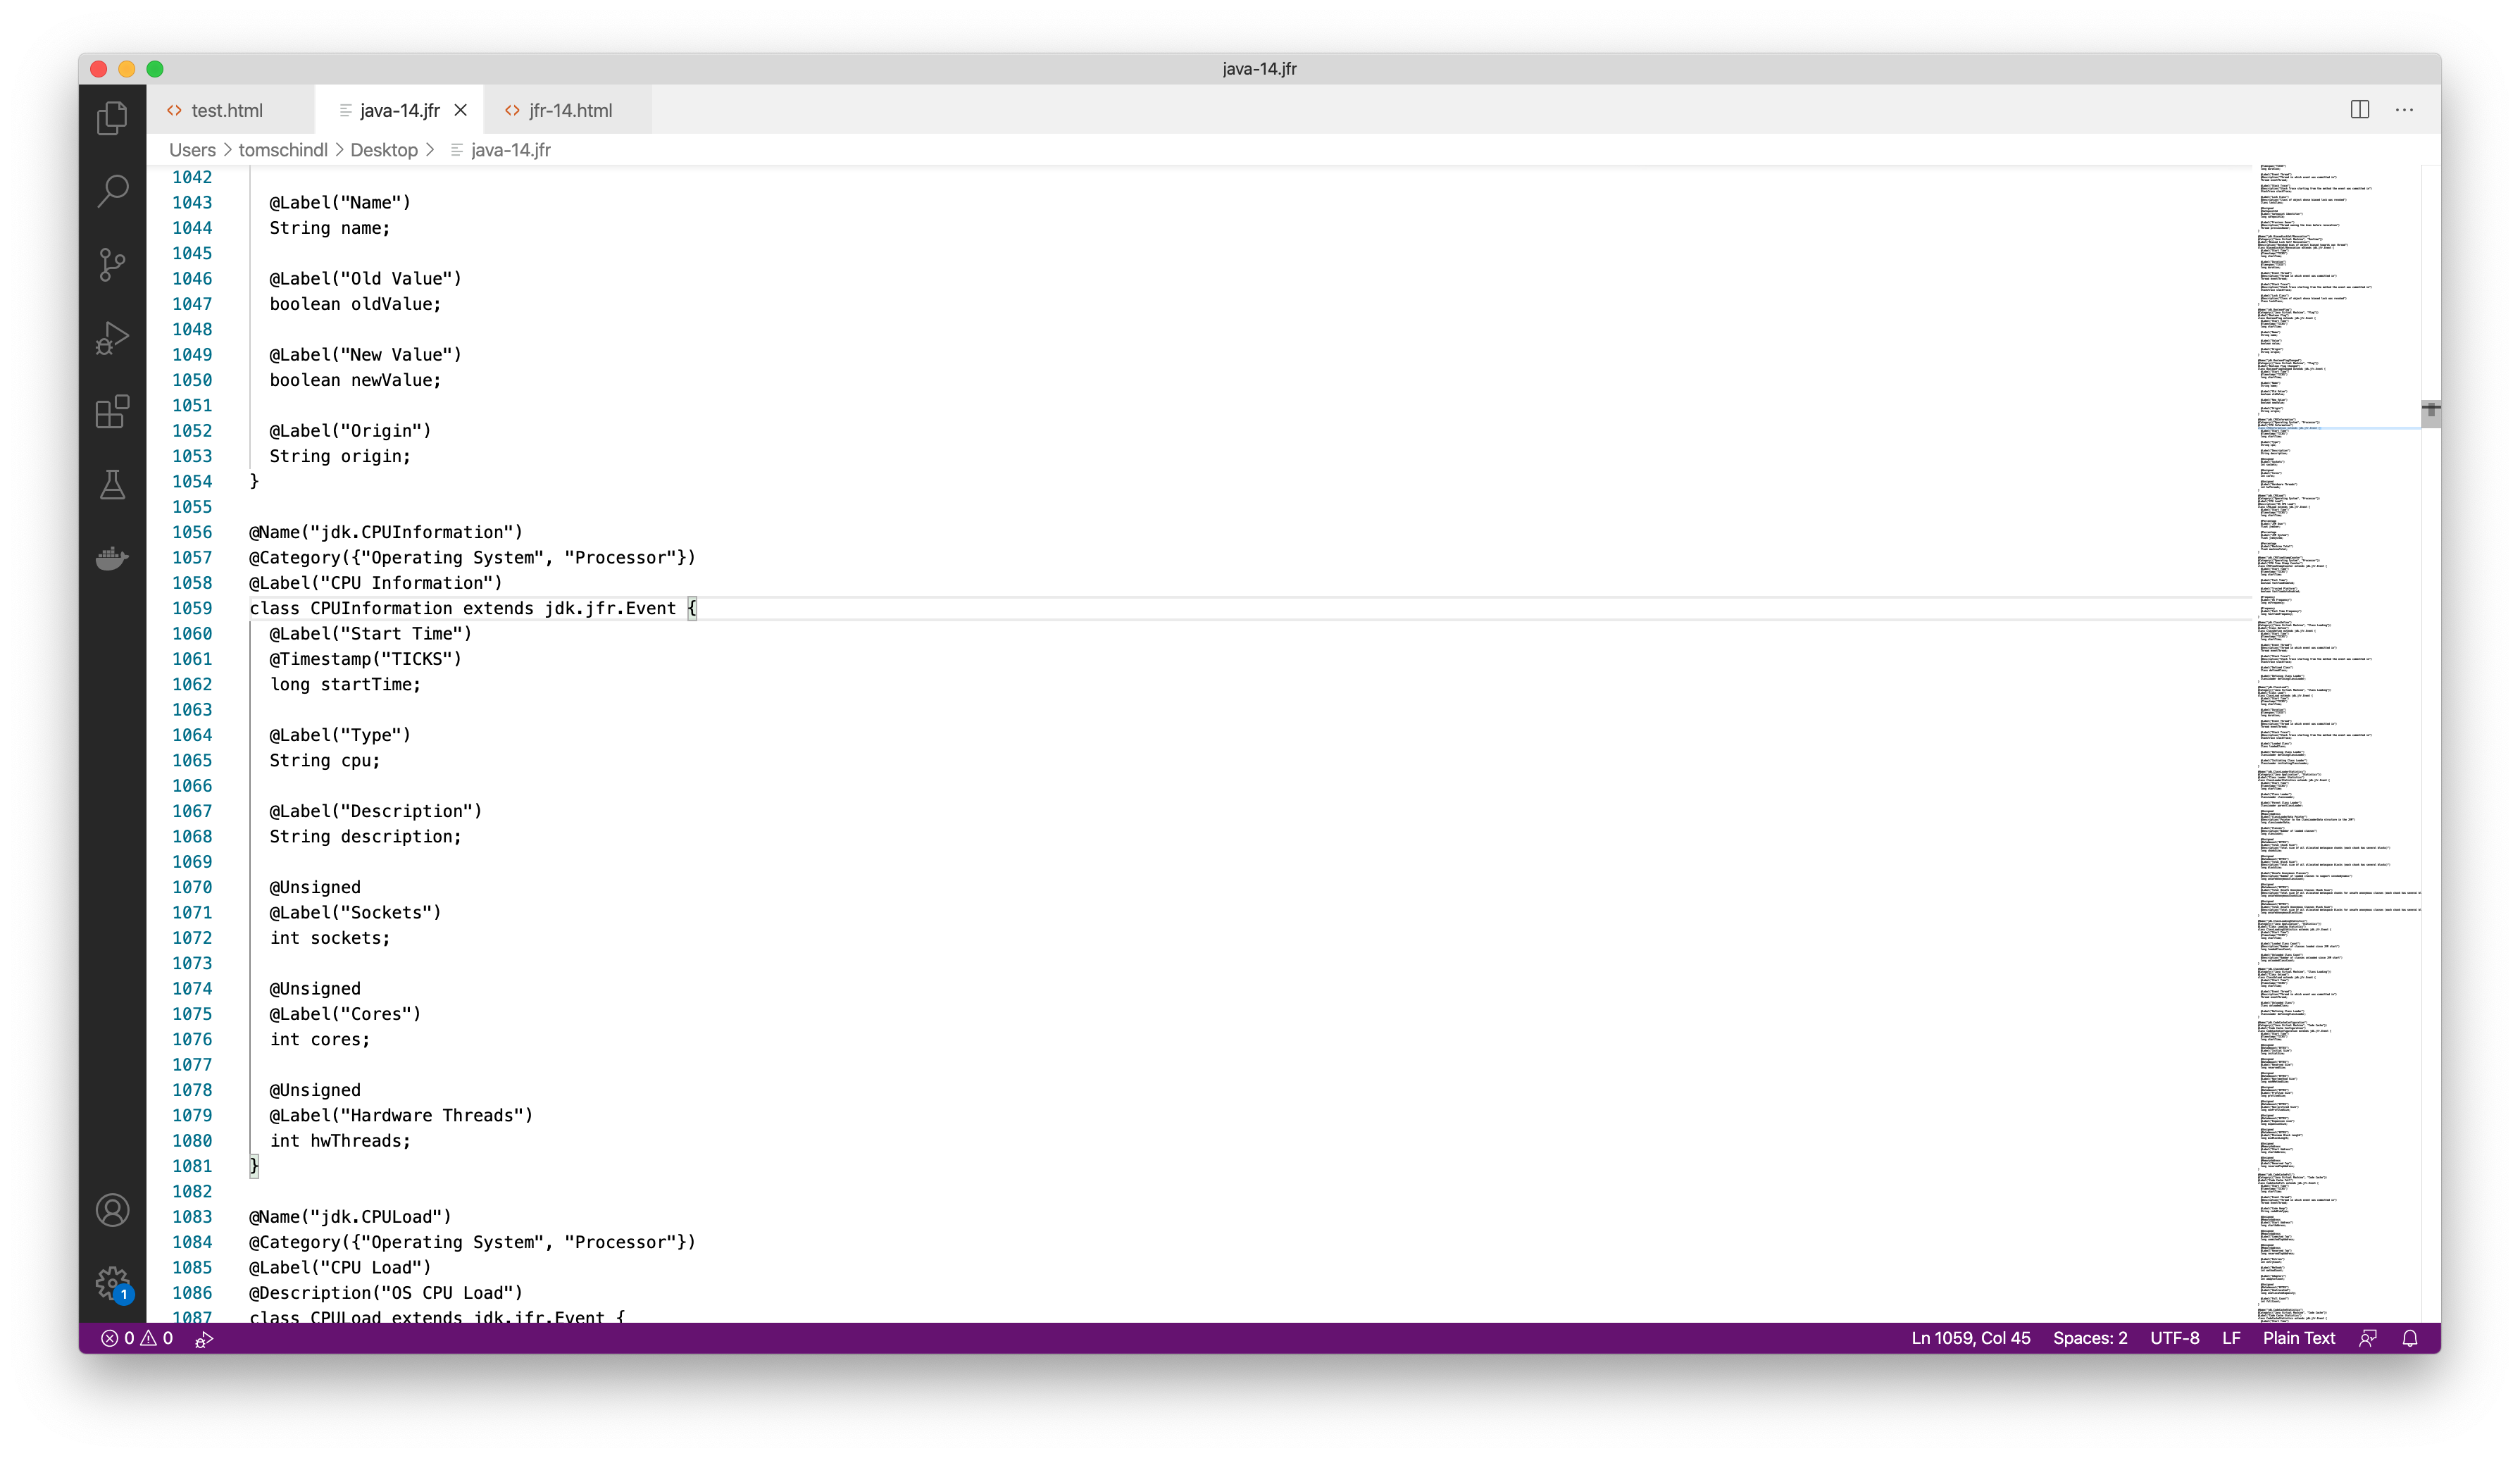
The final file holds content like this
class boolean {
}
class byte {
}
class char {
}
class double {
}
class float {
}
class int {
}
class long {
}
class short {
}

@Name("java.lang.Class")
@Label("Java Class")
class Class {
  @Label("Class Loader")
  ClassLoader classLoader;

  @Label("Name")
  String name;

  @Label("Package")
  Package package;

  @Label("Access Modifiers")
  int modifiers;

  @Label("Hidden")
  boolean hidden;
}
...
Looks like these are Java-Classes so one strategy could be to just compile those and use Reflection to extract meta informations but I went another route
Parsing the .jfr-File
Handcrafting a parser is certainly not the way to go. I needed something that could provide me a fairly simple Logical-AST. There are BNF-Definitions for Java but I wanted something much simpler so I fired up my Eclipse IDE and created an Xtext-Project using the wizards and replaced the content in the .xtext-File with
grammar at.bestsolution.jfr.JFRMeta with org.eclipse.xtext.common.Terminals

generate jFRMeta "http://www.bestsolution.at/jfr/JFRMeta"

Model:
  classes+=Clazz*;

Clazz:
  annotations+=Annotation*
  'class' name=ID ( 'extends' super=QualifiedName )? '{'
    attributes += Attribute*
  '}';

Attribute:
  annotations+=Annotation*
  type=[Clazz|ID] array?='[]'? name=ID ';'
;

Annotation:
  '@' type=[Clazz|ID] ('(' (values+=AnnotationValue |
   ('{' values+=AnnotationValue
   (',' values += AnnotationValue)* '}')) ')')?
;

AnnotationValue:
  valueString=STRING | valueBoolean=Boolean | valueNum=INT
;

enum Boolean:
  TRUE="true" | FALSE="false"
;

QualifiedName:
  ID ('.' ID)*;
That’s all required because the .jfr-File is extremly simple so we don’t need a more complex definition.
How to convert
Well although Xtext is primarily used to develop DSL-Editors for the Eclipse IDE one can run the generated parser in plain old Java. So all now needed is to write a generator who parses the .jfr-File(s) and generate different output from it (HTML, JSON, …) and because although Java now has multiline strings Xtend is the much better choice to write a “code”-generator.
package at.bestsolution.jfr

import org.eclipse.xtext.resource.XtextResourceSet
import org.eclipse.xtext.resource.XtextResource
import java.util.ArrayList
import org.eclipse.emf.common.util.URI
import java.nio.file.Files
import java.nio.file.Paths
import at.bestsolution.jfr.jFRMeta.Model
import java.nio.file.StandardOpenOption
import at.bestsolution.jfr.jFRMeta.Clazz

import static extension at.bestsolution.jfr.GenUtil.*
import at.bestsolution.jfr.jFRMeta.Attribute

class JSONGen {
     def static void main(String[] args) {
         val versions = createVersionList(Integer.parseInt(args.get(0)))
         val injector = new JFRMetaStandaloneSetup().createInjectorAndDoEMFRegistration();
         val resourceSet = injector.getInstance(XtextResourceSet);
         resourceSet.addLoadOption(XtextResource.OPTION_RESOLVE_ALL, Boolean.TRUE);

         val models = new ArrayList
         for( v : versions ) {
             val resource = resourceSet.getResource(
                 URI.createURI("file:/Users/tomschindl/git/jfr-doc/openjdk-"+v+".jfr"), true);
             val model = resource.getContents().head as Model;
             models.add(model)
         }

         for( pair : models.indexed ) {
             val model = pair.value
             var version = versions.get(pair.key)
             val preModel = pair.key == 0 ? null : models.get(pair.key - 1)
             Files.writeString(Paths.get("/Users/tomschindl/git/jfr-doc/openjdk-"+version+".json"),model.generate(preModel,version), StandardOpenOption.TRUNCATE_EXISTING, StandardOpenOption.CREATE)
         }
     }

     def static generate(Model model, Model prevModel, String ver) '''
         {
             "version": "«ver»",
             "distribution": "openjdk",
             "events": [
                 «val evts = model.classes.filter[c|c.super == "jdk.jfr.Event"]»
                 «FOR e : evts»
                     «e.generateEvent»«IF e !== evts.last»,«ENDIF»
                 «ENDFOR»
             ],
             "types": [
                 «val types = model.classes.filter[c|c.super === null]»
                 «FOR t : types»
                     «t.generateType»«IF t !== types.last»,«ENDIF»
                 «ENDFOR»
             ]
         }
     '''

     def static generateEvent(Clazz clazz) '''
         {
             "name": "«clazz.name»",
             "description": "«clazz.description»",
             "label": "«clazz.label»",
             "categories": [
                 «val cats = clazz.categories»
                 «FOR cat : cats»
                     "«cat»"«IF cat !== cats.last»,«ENDIF»
                 «ENDFOR»
             ],
             "attributes": [
                 «FOR a : clazz.attributes»
                     «a.generateAttribute»«IF a !== clazz.attributes.last»,«ENDIF»
                 «ENDFOR»
             ]
         }
     '''

     def static generateType(Clazz clazz) '''
         {
             "name": "«clazz.name»",
             "attributes": [
                 «FOR a : clazz.attributes»
                     «a.generateAttribute»«IF a !== clazz.attributes.last»,«ENDIF»
                 «ENDFOR»
             ]
         }
     '''

     def static generateAttribute(Attribute a) '''
         {
             "name": "«a.name»",
             "type": "«a.type.name»",
             "contentType": "«a.contentType»",
             "description": "«a.description»"
         }
     '''
}
All sources are available at https://github.com/BestSolution-at/jfr-doc if you look at this code keep in mind that it was hacked together in an evening